

An appointment screenshot often mixes the official appointment time with arrival instructions, private details, and preparation steps. Copying only the largest text can leave you late, at the wrong location, or without something you need. Copying everything can expose information that never belonged in a shared calendar.
The useful middle path is a review-first workflow. Keep the screenshot as evidence, use the screenshot-to-calendar tool to surface likely details, and decide where each item belongs before saving.
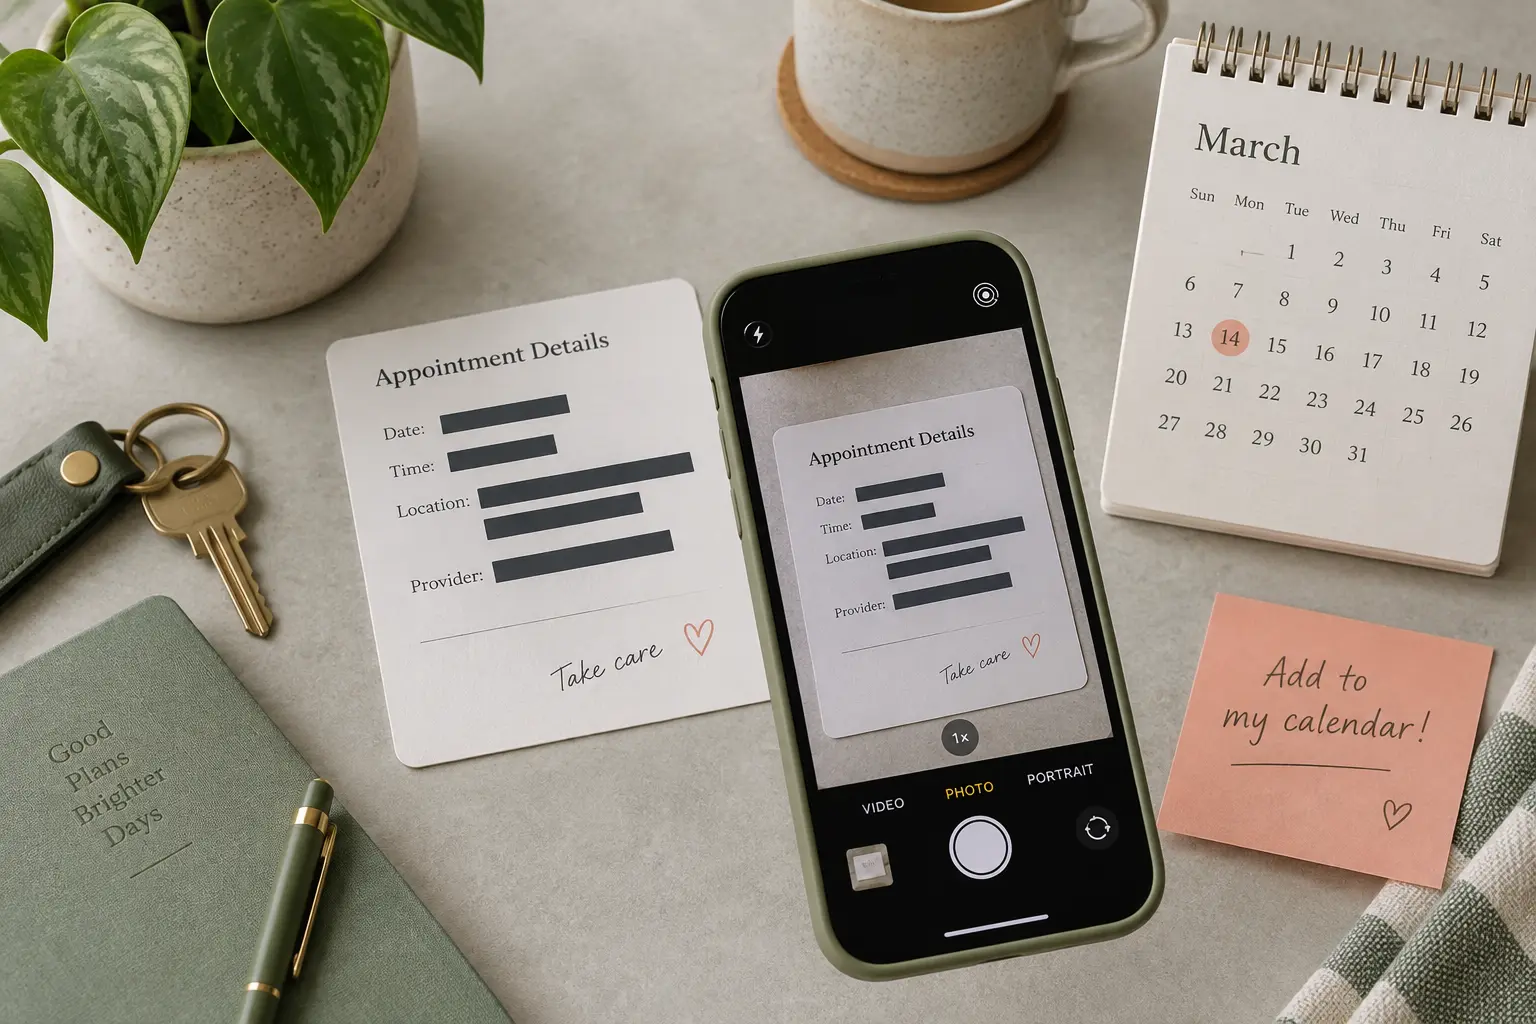
Confirm that the screenshot is current
Appointments change. Before creating an event, look for words such as "rescheduled," "updated," or "canceled." Search your calendar for an earlier version. If the screenshot came from a message, check whether a newer message exists.
Verify the year as well as the month and day. Many appointment cards omit the year because the service assumes immediate use. An old screenshot can look current months later.
For anything costly or important, compare the screenshot with the provider's portal, email, or phone confirmation. The image is a capture of one moment, not a live status feed.
Separate official start from arrival time
Imagine a card that says:
- Appointment: 2:00 PM
- Please arrive 20 minutes early
- Bring photo identification
The official event starts at 2:00 PM. Your arrival target is 1:40 PM. Preserve both.
One option is to keep 2:00 PM as the event start, add "Arrive by 1:40 PM" near the top of the notes, and set an alert based on travel to the earlier time. Another is to include the arrival target in a concise title. Do not quietly change the official start to 1:40 PM, because that makes later rescheduling and communication harder to interpret.
The same distinction applies to check-in windows, doors-open times, boarding times, and preparation appointments.
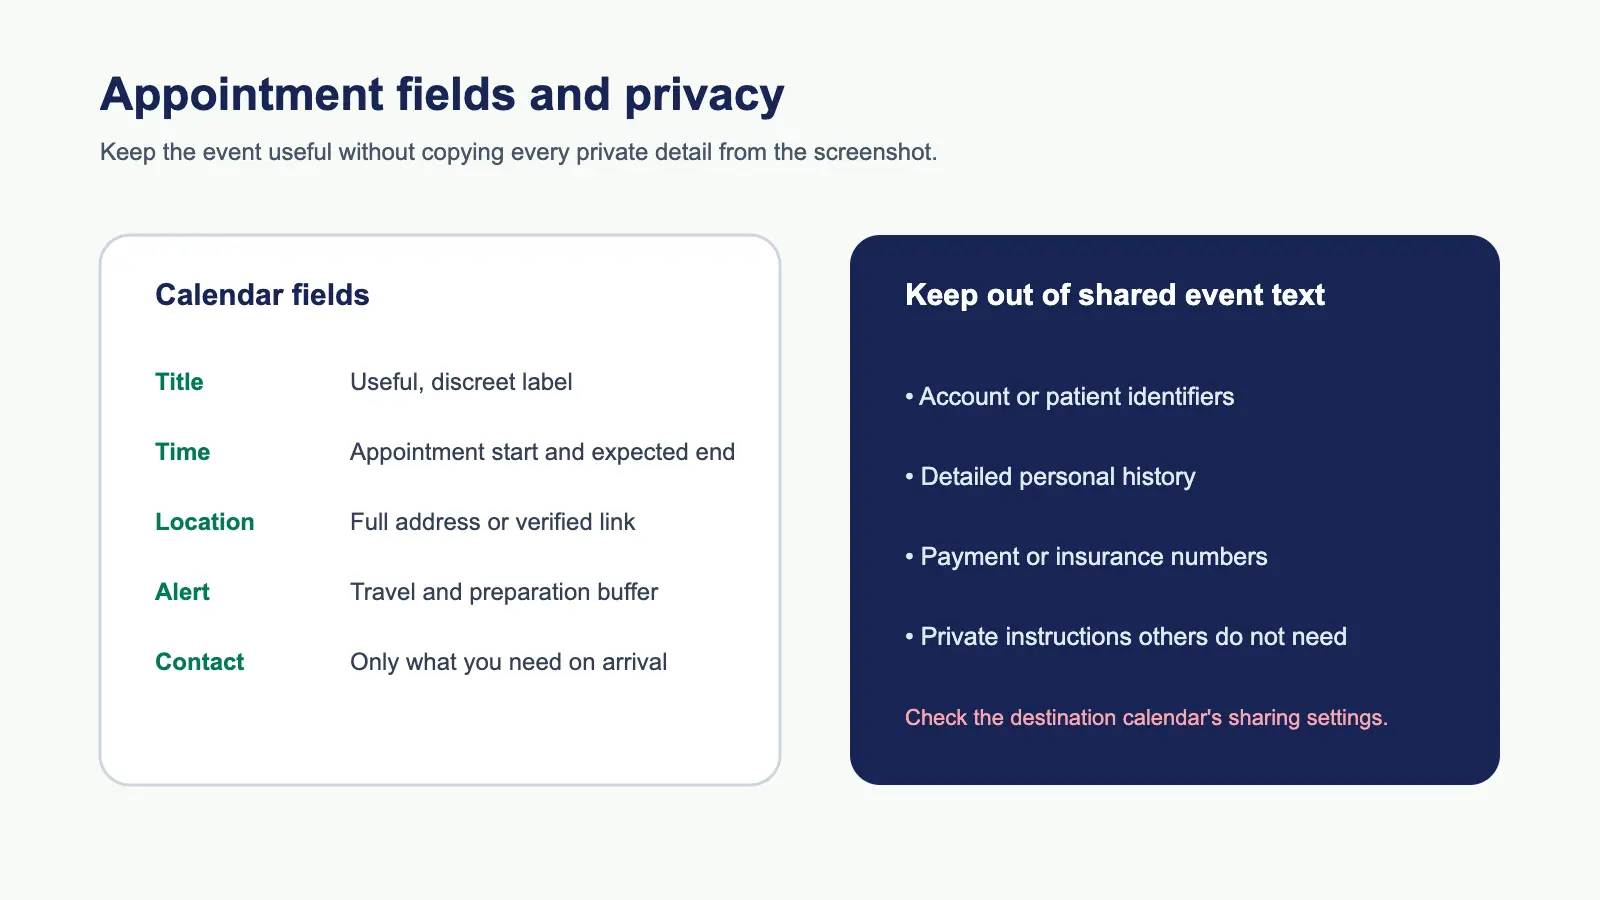
Use a recognizable but private title
The best title depends on where the event will be visible. "Dental cleaning" may be useful on a private calendar. "Appointment" may be safer on a shared work calendar, but less useful when several appointments appear together.
Choose enough detail to act without exposing more than necessary. Calendar titles can appear in notifications, widgets, shared views, and lock screens. Avoid copying account numbers, symptoms, case descriptions, or other sensitive details into the title.
If the provider name helps you find the location or answer a call, include it. If it reveals information you would rather keep private, place it in a protected notes field or leave it in the original source.
Verify the location from the full source
A provider name is not an address. Clinics, repair services, salons, government offices, and banks can have several branches.
Copy the full street address, suite, floor, entrance, or parking instruction when the screenshot provides it. If the image shows only a business name, return to the original confirmation or official site. Do not choose the nearest branch by assumption.
For a remote appointment, find the actual join link. A screenshot may show a button without the URL. Use the original message so the link remains clickable and complete.
Apple Calendar supports locations, notes, attachments, alerts, and travel time among its event details (Apple iPhone Calendar guide). Fill those fields from confirmed evidence, not from what the form seems to expect.
Put preparation where it will be seen
Preparation instructions are often more important than the event description. Examples include completing forms, fasting, bringing identification, backing up a device, removing jewelry, or arriving with a confirmation code.
Place the short action list near the top of notes. Use a separate reminder if an action must happen hours or days earlier. A single alert ten minutes before the appointment will not help with paperwork due the previous day.
If an instruction involves health, legal, or financial decisions, do not reinterpret it. Preserve the provider's exact meaning in your own concise words and keep the original source available. Contact the provider when anything is unclear.
Choose alerts from the arrival target
Work backward from when you need to arrive, not just when the appointment begins. Include travel, parking, security, check-in, and preparation time.
For a local 2:00 PM appointment with a 1:40 PM arrival target and 25 minutes of travel, an alert at 1:15 PM may be the minimum useful prompt. A second alert the day before may cover forms or materials.
Alerts are personal. The screenshot can supply arrival instructions, but it usually cannot know your travel time or preparation needs.
Keep private details out of broad sharing
Calendar events may sync across devices and accounts. They may also be visible to family members, coworkers, assistants, or anyone with access to a shared calendar.
Google Calendar distinguishes default, public, private, and confidential visibility values in its event model (Google Calendar Events API). The exact behavior still depends on calendar and sharing settings. Treat destination choice as a privacy decision, not just organization.
Use a private calendar for sensitive appointments when appropriate. Minimize what you copy. A confirmation number or private link may be necessary, but it does not need to appear in the title. Avoid adding attendees unless you intend to notify them.
Handle time zones for remote and travel appointments
A local appointment normally follows the venue's local time. A remote consultation may use the provider's zone, your zone, or an explicit UTC offset. A travel booking may show the destination's local time.
Do not rely on an abbreviation alone. Confirm the named location or zone and then check the saved local display. Daylight-saving changes can make a conversion based on today's offset wrong for a future date.
Use the timezone review checklist when the provider and attendee are in different regions.
Use Recap to review before sending
Recap begins with the source. The appointment image becomes part of a structured, readable Recap Document. When the source contains strong time signals, a Calendar Sheet can surface proposed fields for review. You can confirm, edit, or cancel before sending anything to a calendar.
That pause is useful for appointments because it keeps privacy and timing choices visible. You can preserve the official start, add the arrival instruction, remove unnecessary personal details, and choose the correct destination calendar.
For the complete field model, use the image-to-calendar event guide. If you save to an iPhone, follow the Apple Calendar review-first workflow. The broader screenshot-to-calendar guide covers other source types.
Final appointment checklist
Before saving, confirm:
- The appointment is current and not canceled or rescheduled.
- The month, day, weekday, and year agree.
- Official start and requested arrival are both visible.
- The address or remote link belongs to the right branch or provider.
- Preparation tasks have alerts early enough to matter.
- The event is saved to the intended private or shared calendar.
- The title reveals no unnecessary sensitive details.
- Confirmation numbers and private links are kept only where needed.
- No attendee will be notified unintentionally.
- The original screenshot or confirmation remains available.
A calendar event should reduce appointment anxiety, not create a cleaner-looking version of an uncertain source. Review the few fields that affect arrival, access, preparation, and privacy, then save.
Continue in Recap
Turn this source into a Recap Document
Make it easier to read, then send time-based details to Calendar, export it to Workspace, or start PBL Learning.